recipes can be found here: https://food52.com/users/106817-eyeoftheavocado

recipes can be found here: https://food52.com/users/106817-eyeoftheavocado
It’s a hard day of this and that and it was just a weekend of non-stop work so I decide to make a comforting creation that I have depended on for generations, mac ‘n cheese. These days I eat less gluten, or at least try to, I find it hard to be gf full time as I like beer after a long day, I love warm baked bread & I cannot resist Neapolitan style pizza. (((It’s sinful to in my opinion))) However, I found there is a great alternative for pasta, Brown Rice Pasta by Tinkyada. I enjoy all their pastas but find the penne & shells work best for this recipe.
Serves 6
Preheat oven to 375°. Use a little olive oil to grease a 8″ square glass or cast iron pan.
1 Bag Tinkyada Brown Rice Penne or Shells
1 Tbsp Salt
4 TBSP Butter
1 onion, yellow, coarsely chopped
8 Shiitake Mushrooms, sliced thin
2 Tbsp Gluten Free Flour
1.5 C Milk (Goat Milk, Sheep’s Milk, or home-made Almond Milk will work, as long as there is no sugar), warmed slightly
1/2# Cheddar Cheese, grated
2 oz (1/4 C) herb Goat Cheese
4 oz (1/2 C) fresh grated Parmigiano, separated in halves (half is for the top of the casserole)
Salt & Pepper to taste
Bring 8 Cups of cold water to boil with salt. Once at a boil, gently add pasta package and set timer for 7 minutes. You don’t want to fully cook the pasta as you will be baking the macaroni later. Once ready drain in colander but do no rinse.
While water comes to boil, chop your onion and warm a cast iron pan or stainless steel saute pan, over medium heat. Add butter along with 1 TBSP evoo to coat pan. Stir occasionally & once onion is translucent, add shiitake mushroom with 1/4 tsp salt, cook until mushroom is evenly brown.
Add the flour and stir for 30 seconds to create a thick paste (roux). Add warmed milk and stir until a creamy Bechamel sauce appears. Once sauce is thickened add grated cheese in hand fulls and stir to incorporate. Once all but 1/4 C of Parm is added, add salt & pepper to taste, you can try the pasta at this point, the pasta will be a little more than al dente but you want to taste for salt & pepper. Pour macaroni and cheese into prepared glass or cast iron square dish.
Top with remaining parmigiano (1/4 Cup) & bake in preheated oven for 20 minutes. If you are like me and crave a crispy top layer, set the broiler on high for an additional 3 – 5 minutes (broilers vary greatly). When broiling things I sometimes sit in front of the oven with the oven door ajar to watch the bubbles and make sure nothing burns.
Many of my personal chef clients are gluten & cow dairy free. If that’s your case, easily substitute the cheddar and parmigiano for some goat alternatives (make sure to find a harder goat cheese as the harder cheeses generally add a nice element of salt & complexity).
Enjoy on a cold & rainy evening or just cause, it’s macaroni and cheese. it’s never bad. 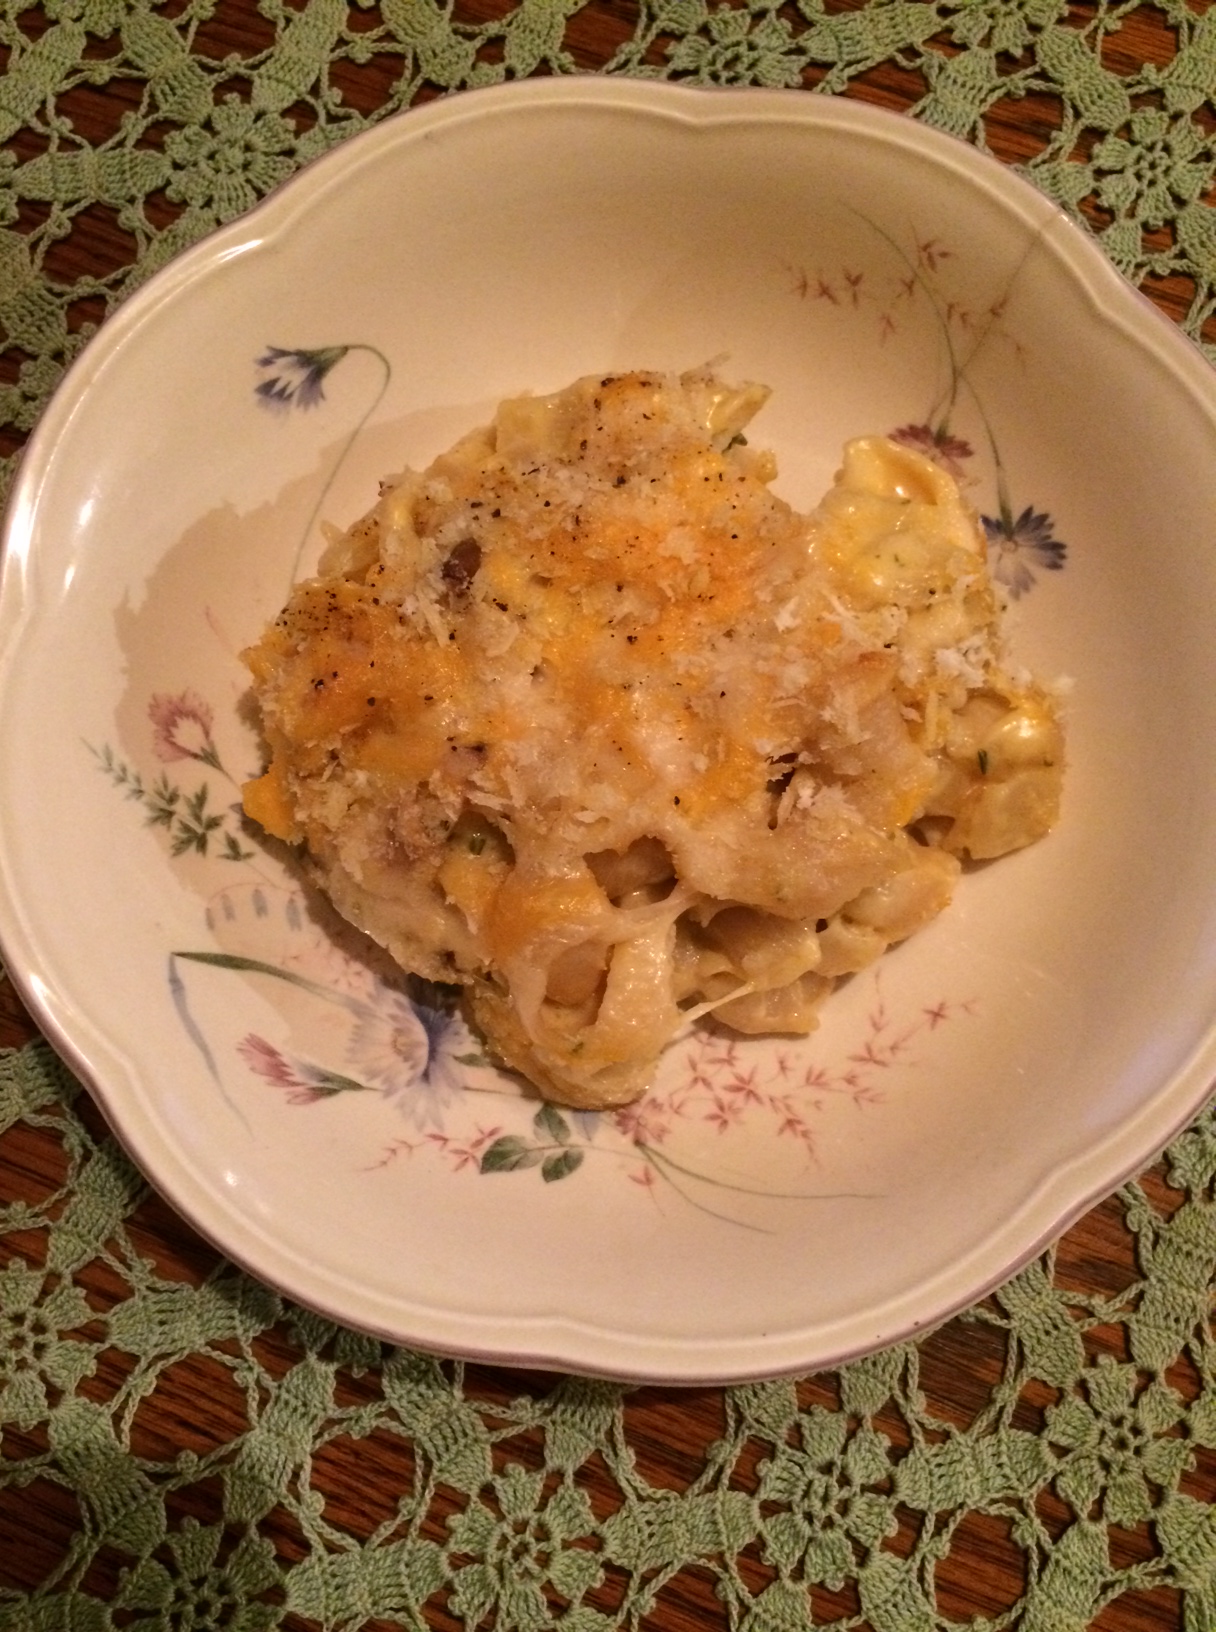
this recipe was inspired by michelle dudash’s recipe by the same name. i added some roasted fennel that i slowly roasted in the oven with a bit of olive oil, salt & pepper. a few other changes were made.
six servings.
1 bulb fennel, white part separated and cut into thin slices bilaterally
6 pieces wild halibut, fresh as it gets
3 TBSP unsalted butter, divided
2 containers cherry tomatoes, mixed varieties if possible, washed & halved
16 leaves basil, rolled & thinly sliced (chiffionade)
6 tsp evoo, good quality
2 cloves garlic, minced
3 tsp lemon zest
3 tsp lemon juice
3 tsp capers, smaller nonpareil variety
6 large rectangles of parchment paper, 15 X12
…
1. preheat oven to 350 degrees.
2. toss fennel with a tsp or two of evoo, fresh milled salt & pepper add to oven safe dish and throw in preheated oven, about 35 minutes, toss & stir after 25.
3. wash and pat dry your halibut and let sit at room temperature, liberally dust each piece of halibut with salt & fresh milled pepper.
4. toss halved tomatoes, basil, garlic, lemon zest, lemon juice w 1/4 tsp salt.
5. once your fennel is nicely roasted and cooked thru, add to the tomato salad. and turn up oven to 400 degrees.
6. set up work station with a stack of parchment, your plate of washed & dried halibut, your bowl of cherry tomato salad & your pre cut 6 thin pads of butter.
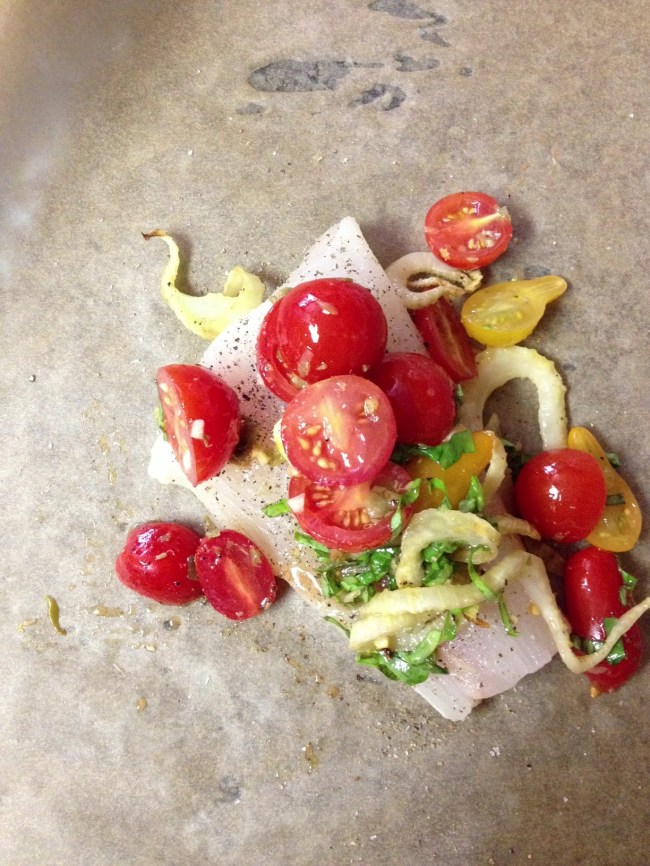
7. lay a piece of parchment down in a diamond shape. below the center of the diamond add one piece of halibut. a pad of butter. a good heaping of the cherry tomato salad (leaving the lemon juice in the bowl).
8. think calzone. you are going to bring the top of the diamond down to the bottom, crease the sides and start from the left side by folding 1 inch pieces over in a fan like shape. you will make a calzone (half moon) shape when finished. fold in corners into fan folds and try to make sure that they are relatively secure.
9. bake on a sheet pan for 12- 15 minutes, depending on the thickness of the halibut, listen for a sizzle sound and always check by pressing the center of the fish, if it’s a little firm but still has a nice push to it, it’s done.
10. serve in shallow bowls on plates, allow each diner to carefully open each of their pouches. be careful of steam and avoid being directly above pouches when opening.
11. i enjoy fish with some nice aromatic basmati rice andveggies or a herb salad. enjoy.
my mom had a bottle of some well gifted chocolate balsamic vinegar in the fridge and we thought they’d be a beautiful addition to a braised short ribs recipe i adapted from Alison Ladman’s Balsamic Braised Shortribs from the Seattle Food & Wine Magazine. I changed a few key cooking techniques but the measurements are roughly based on Alison’s recipe. These short ribs are delicious w/ cheesey polenta or creamy mashed potatoes. I chose to pair them w/ some parmigiano smashed potatoes and butter roasted parsnips & carrots.
Chocolate Balsamic Braised Short Ribs
Serves 9


what’s better than creamy, lava like egg yolk?
in my opinion, nothing. it’s gold worthy. in the dark ages i would have bartered egg yolk wrapped in paper packages for all sorts of delicious and worthy trade.
i bring you a famous small wonder. the 7 minute egg. it’s the perfect medium boiled egg. and it’s really quite simple. if you have chickens, great! fresh eggs are best. you want room temperature eggs or at least not super cold eggs. if you only have fridge cold eggs and are in rush, before doing anything put them in some above room temperature water in a bowl.
according to how many eggs you want to make fill a small saucepan w/ filtered water and bring to a boil.
once boiling, use a slotted spoon or strainer to gently drop eggs (shell on) into water, right before you drop the first egg start a timer for 7 minutes. USE A TIMER. you don’t want to overcook these gems.
starting in a clockwise fashion, drop the first egg in and then quickly the rest. once the last egg is in, notice how much time has lapsed. and add that to the final cooking time (usually only 5 – 20 seconds).
while the eggs are cooking to perfection. get an ice/water bath ready in a bowl large enough to fit all desired eggs.
once the timer goes off, in the same order that you dropped them in, put your eggs in the ice/water bath, usually it will take the same time to pull them out as it did to put them in (i.e. a perfect 7 minute egg).
let them sit for 1 minute and then pull them out and dry them w/ a clean dry kitchen towel. they will be good at room temperature for several hours or in the fridge for up to 7 days. i like to eat them at room temperature. they will peel easily, cut them with a sharp knife and add a little salt and pepper. enjoy.

these all star pickles are best w/ pulled pork, in a fried egg sandwich, atop salads or inside tacos of varying deliciousness. they are a product of the village market in the inner richmond of san francisco. kate baron, stephanie shelton & myself came up with the recipe while we were making our incredibly popular fried egg sandwich.
Makes 1 quart

i use to work for a blue bottle coffee spot in sf, the village market, there we made some of the best cold brewed coffee i have ever had. frontier natural sells a lb (16oz) bag of chicory, for around 20.00 on amazon. i highly suggest it or if you live near a great co-op (briar patch, rainbow grocery, davis natural) you might be able to find it in their bulk section or they can order it for you.
1 pound coffee beans, coarsely ground (blue bottle retrofit works great, your favorite high quality darker coffee single origin or blend).
1 1/2 ounces chopped, roasted chicory
10 C filtered cold water
add the coffee & chicory to a large stock pot. using a wooden spoon, stir in the water until well mixed, cover and let sit in a cool place for 10 – 12 hours, this will make you a syrupy concentrate.
once steeped strain the coffee using a fine mesh strainer, into a large iced tea jar or 1.5Q mason jar. I like using an iced tea jar with a spout, easy to pour and you won’t waste a drop!
you can experiment with how much cold water you add to each cup of iced coffee. blue bottle suggests a 1:1 ratio. I like a little less water, but i compensate with fresh almond milk (recipe to come) and a little simple syrup (blue bottle suggests 3oz of simple syrup to the entire 1.5Q+/- coffee concentrate.
the concentrate will keep for a week in your fridge.
enjoy.

this is the the most clean coffee you will ever have. if you have a sensitive stomach to coffee, this may be the answer as the coffee oils aren’t extracted by hot water, the slow long process produces a sweet, strong, uber delicious cup of coffee.
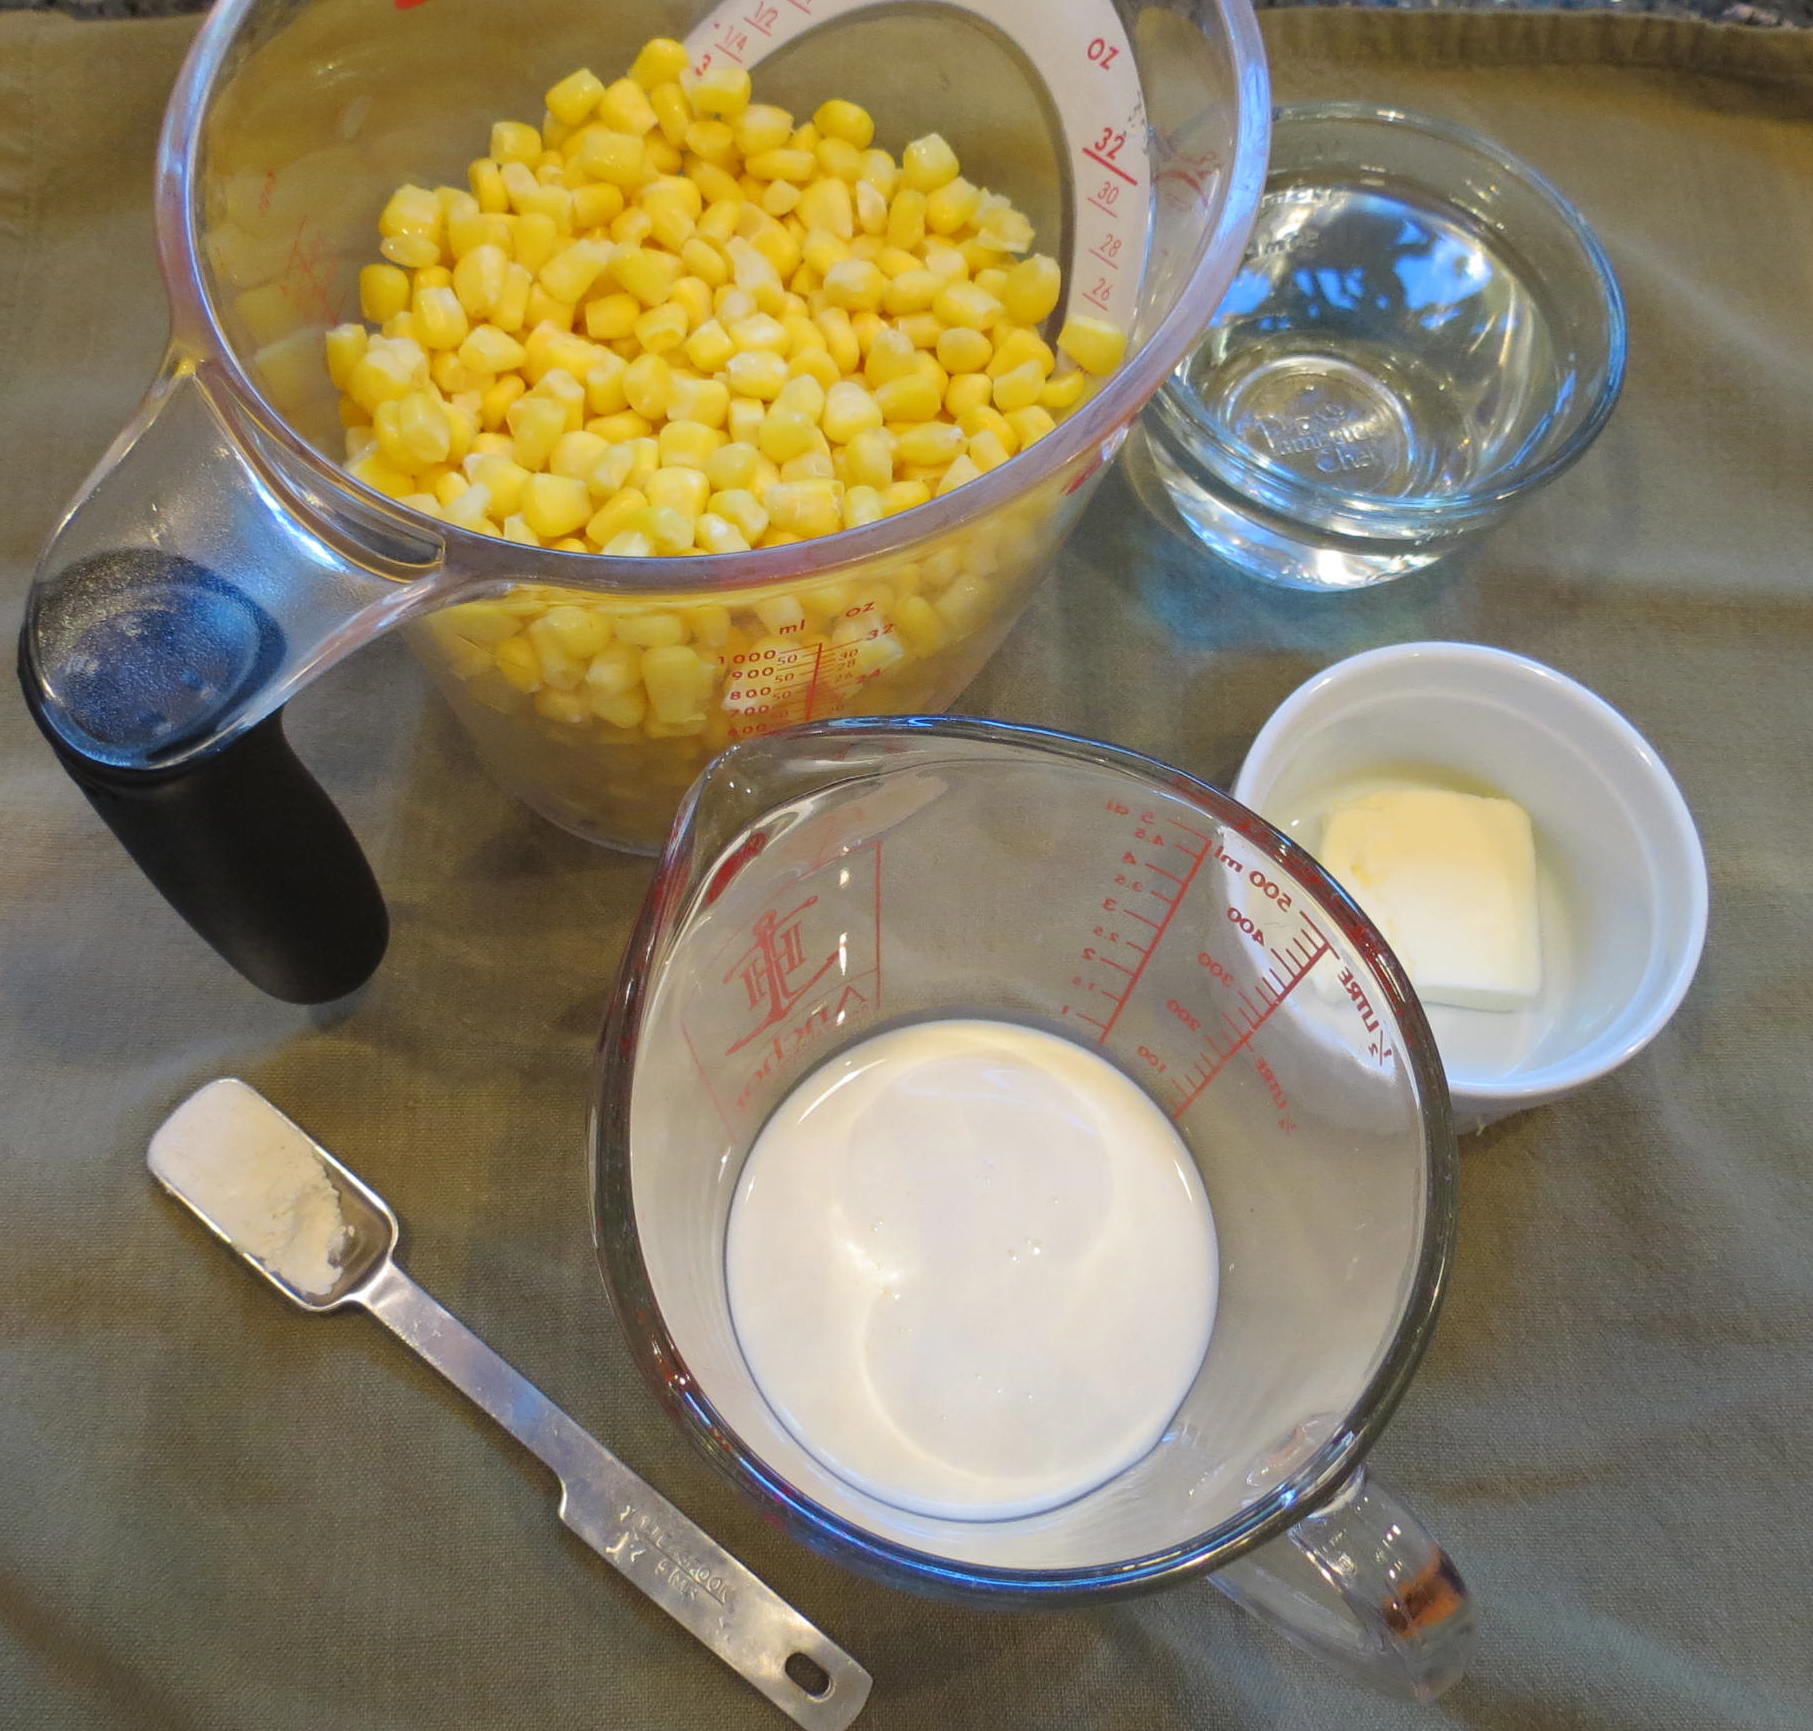
creamed corn
Ingredients
bring frozen corn, the water, butter and s/p to taste to a simmer, until corn is warm throughout. in a small saucepan whisk the flour & cream together, boil over medium heat, uncovered, stirring constantly, 1 minute. Carefully transfer cream mixture to 2/3 C of the corn w/ some of the cooking liquid to a blender and puree or use a hand mixer. Stir puree into corn and simmer 5 minutes.
Season w/ salt & pepper.

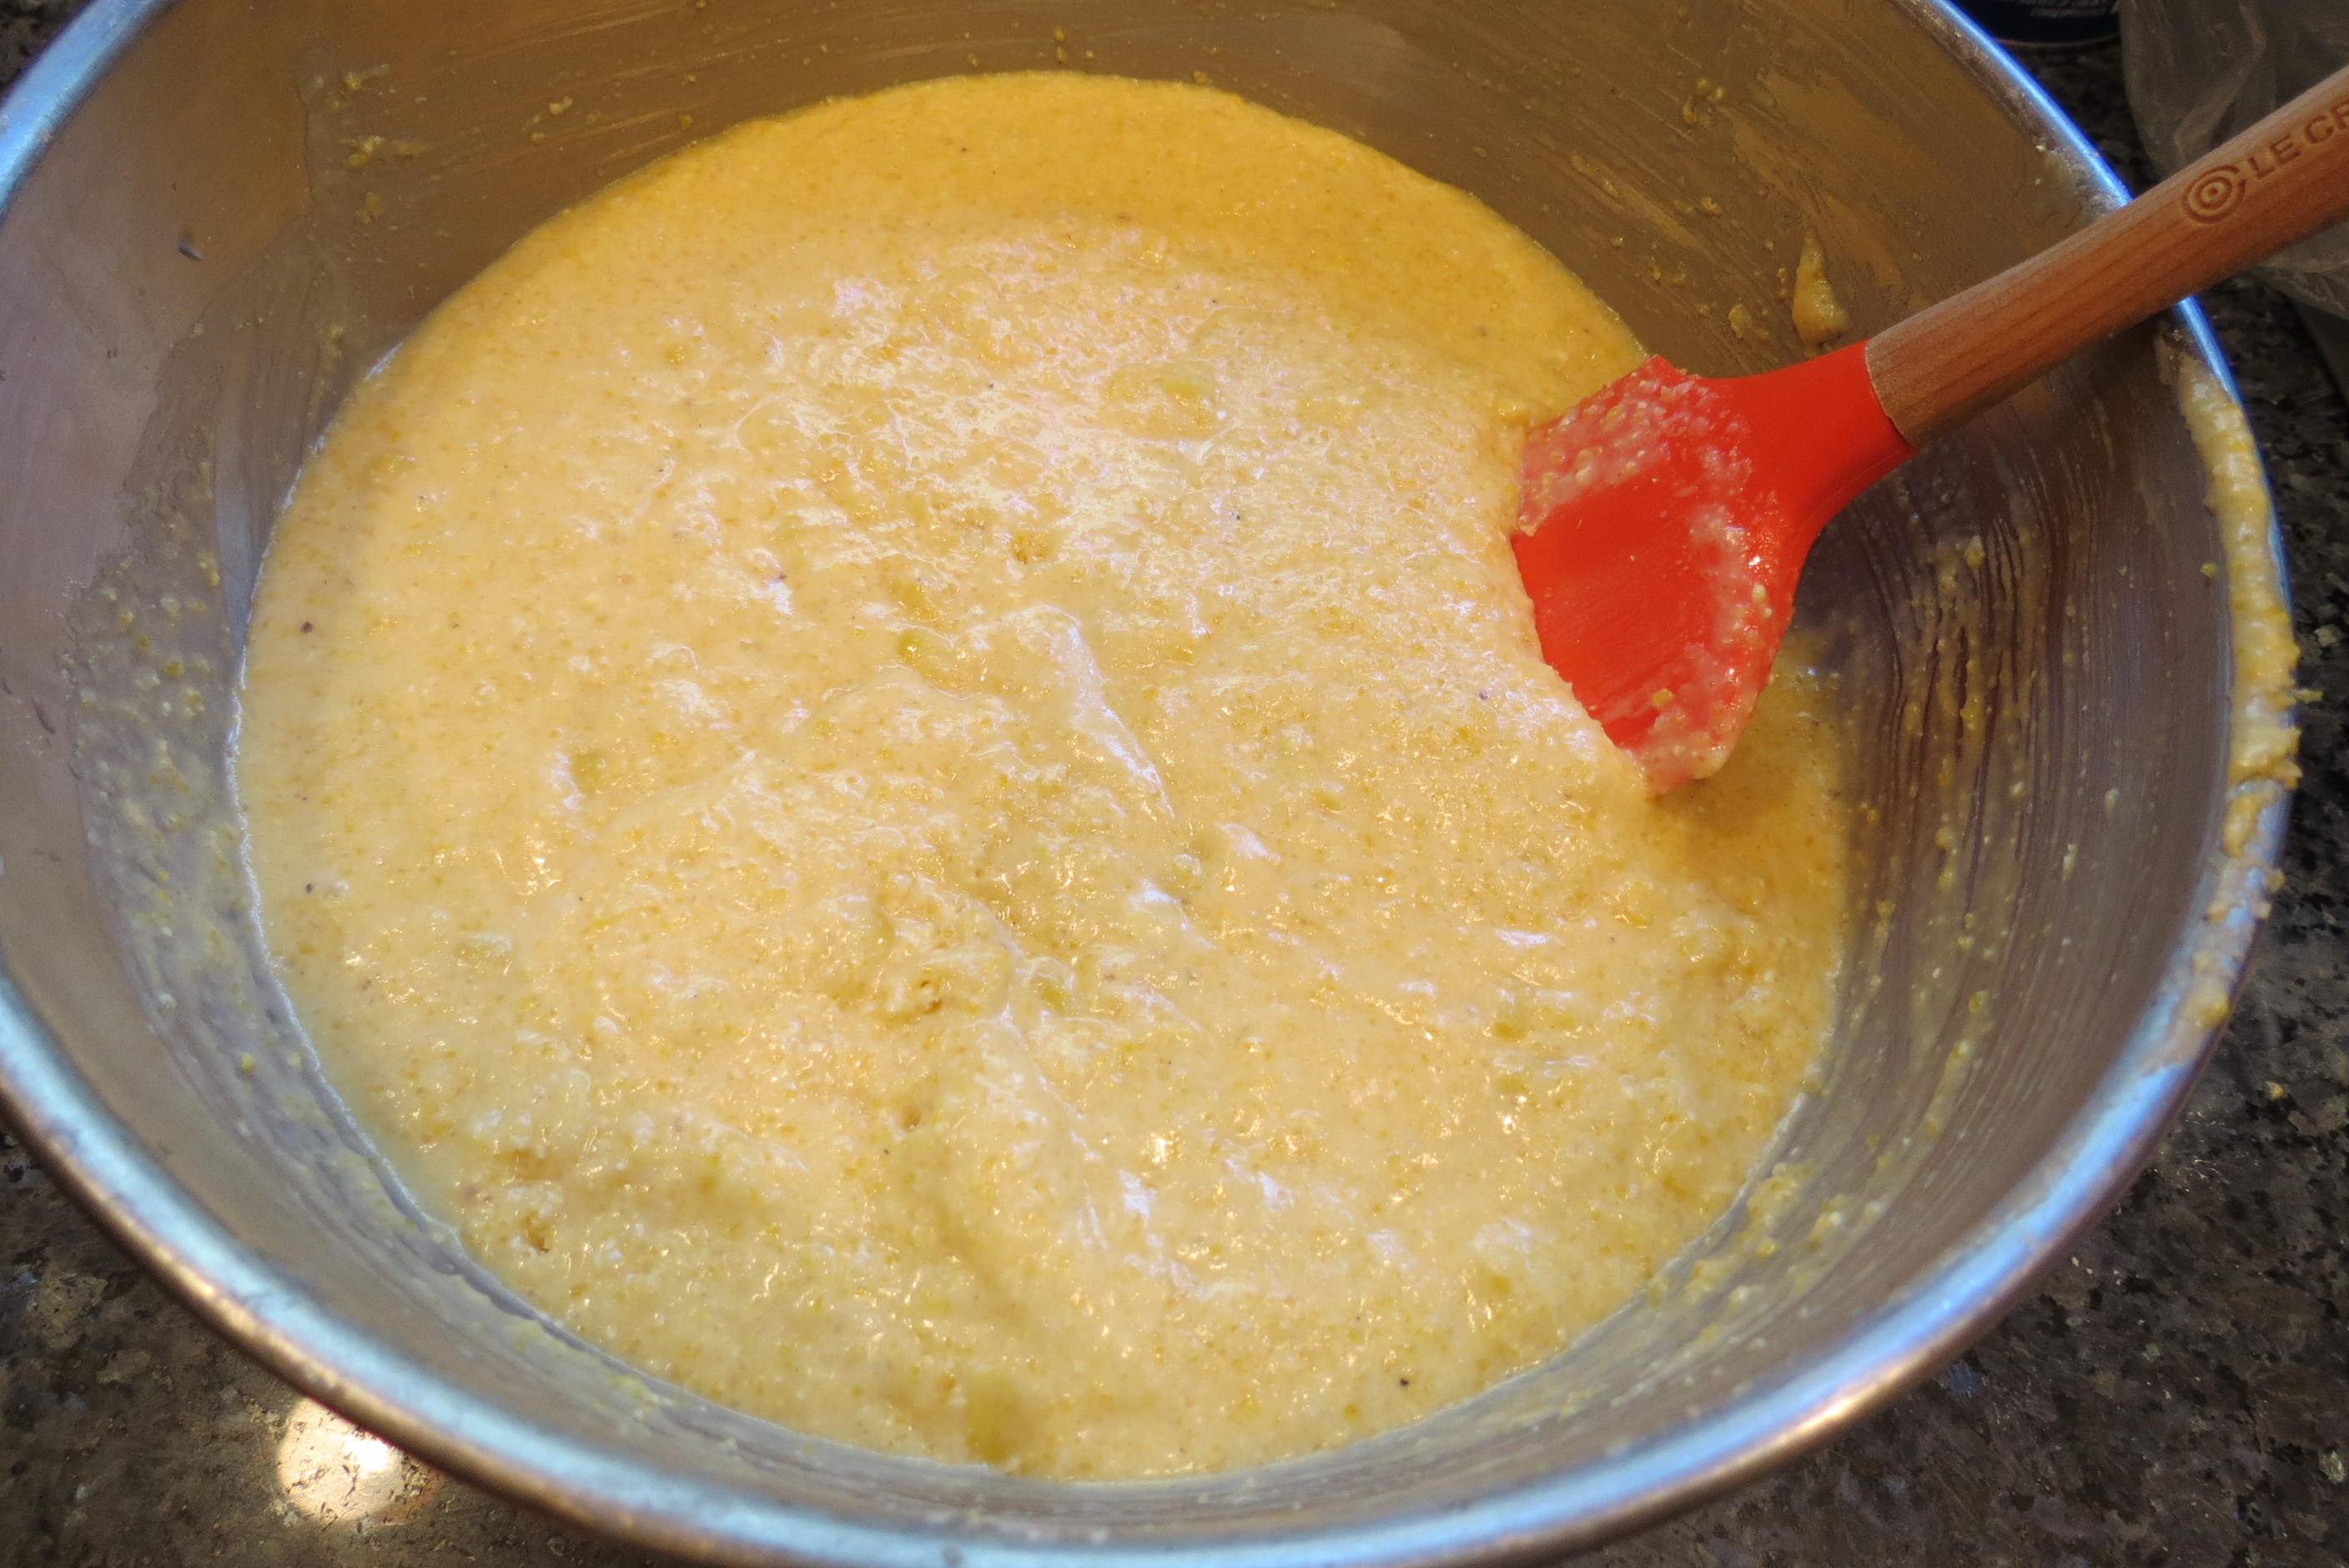
Cast Iron Gluten Free Corn Bread w/ Creamed Corn
makes 2 9″ cast iron skillet rounds
Ingredients
Directions


than butter. and that’s why you should make it. yourself.
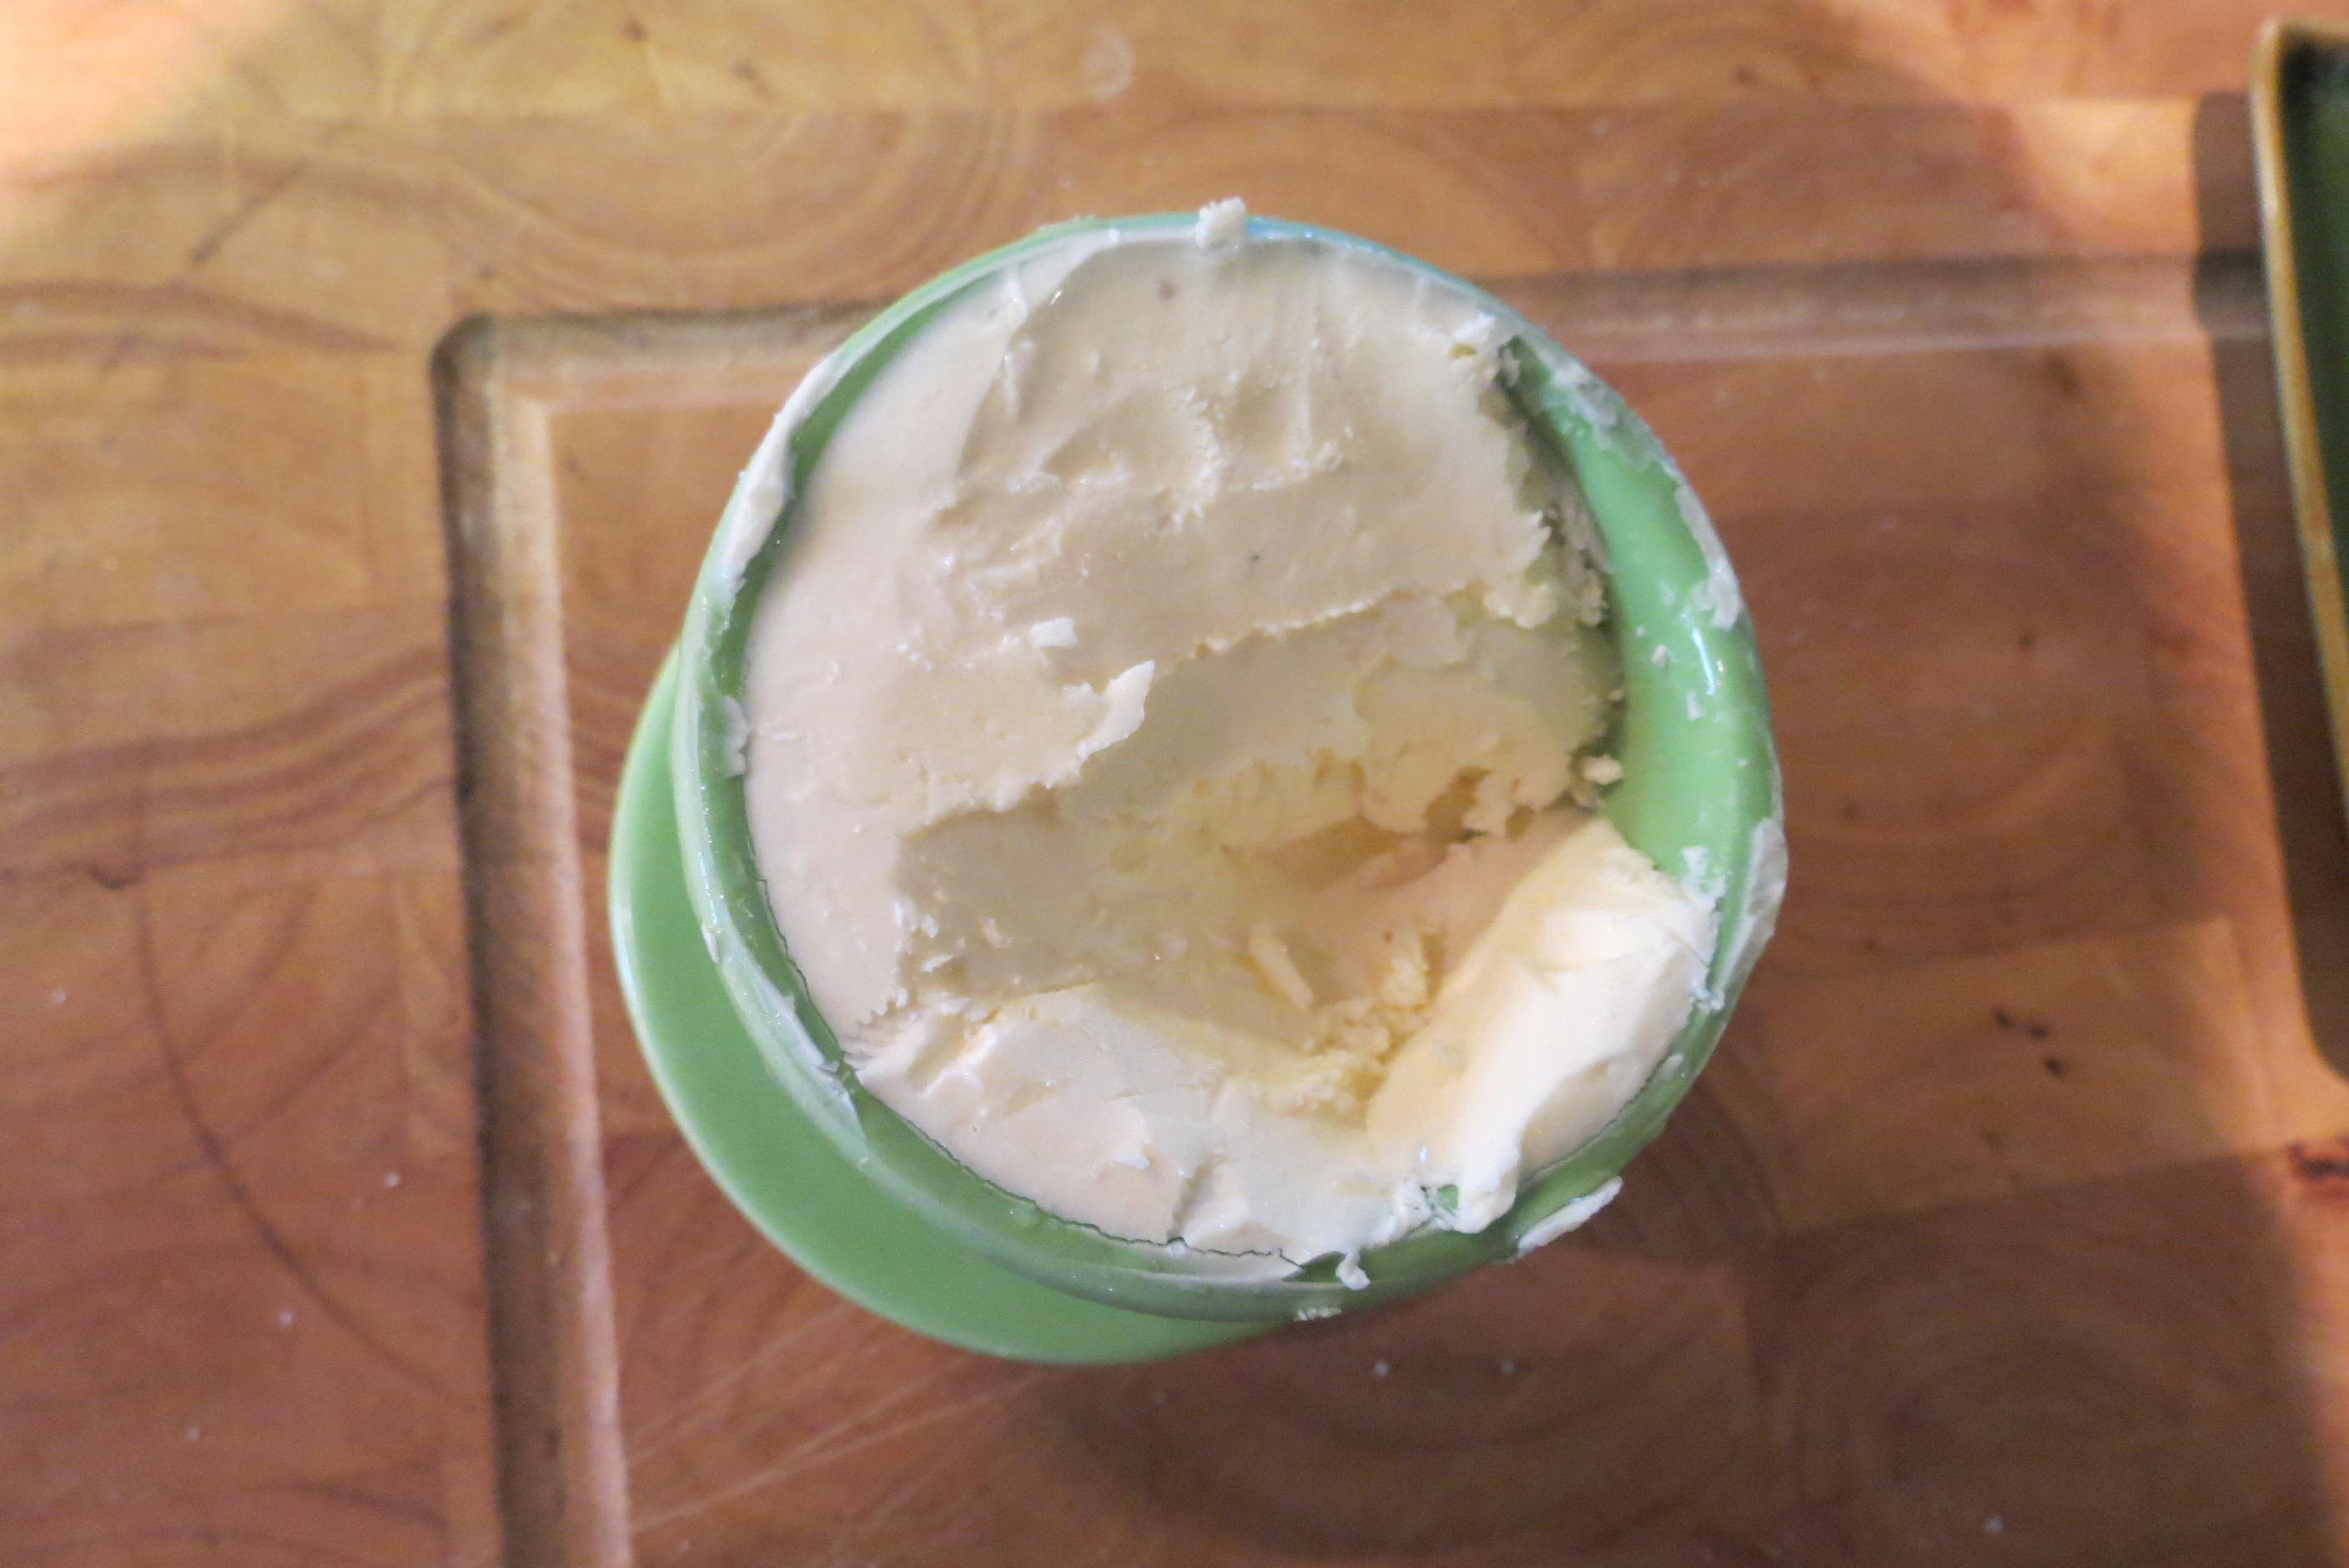
creamy. grassy. raw. cultured butter.
it’s soft. it’s good on everything. once you learn the basics you will want to play with the recipe, add a little more salt. a little less salt. pick a different yogurt to culture it with, add some herbs, whatever you choose. butter makes it better.

being that my experience spans from over 9 years of san francisco life, a year abroad in Florence, Italia & a family culture rich in food memories, 3 years of cooking at an organic open kitchen market w/ a daily menu, thoughtful ingredients are at the forefront of my cuisine. Local Nevada County farms have an abundant array of fresh, organic, whole foods that are unparalleled to buying produce shipped in from Chile, Mexico & Argentina. Abundance is a key word here. I will make you whatever you desire, but please be willing to trust my eye, I canoodle every potato, smell each bunch of lemon thyme, size up each blessed little chicken & taste everything I possibly can before buying your ingredients. I enjoy planning menus at the farmer’s market, the fish market, the local butcher or simply your favorite market, letting these wondrous ingredients speak for themselves.
Let’s go on an adventure together, I promise it will be fun.
